Although you can record sales as walk ins, adding customers to your OnSite database gives you many useful features. You can track customers' purchase history and outstanding balances, create customer categories and offer them special discounts, run sales reports based on customer type, and much more.
A customer's contact information is stored in the customer card, and can include the basic information for the customer, as well as whether they are a company or an individual. Companies with multiple contacts or addresses can be stored in the Contacts tab of the Customer card, you can store specific information about individuals within a company, or contact information for other locations. You can assign Contacts to their own groups, or create custom fields for your contacts.
To add a customer
- In OnSite in the control panel right-click Customers > New.
- Add the customer information and save your changes.
To add customer information
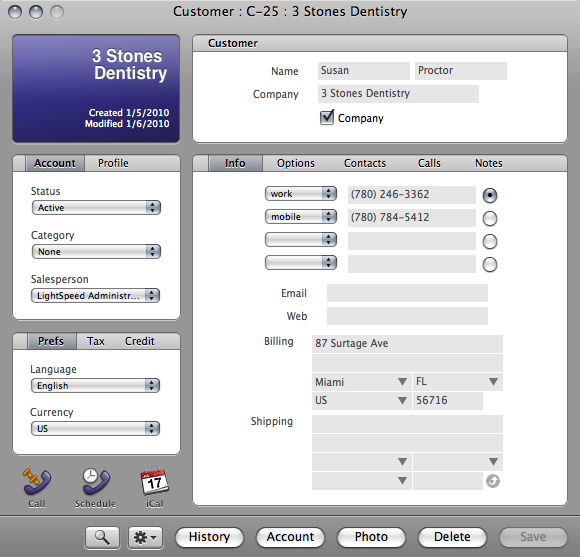
| Phone numbers | You can enter up to four phone numbers, whether the number is for work, home or mobile, and specify the preferred number for contacting the customer. |
| Email and web | Enter the email and web addresses for a customer. Click the Email or Web labels to open the address with your default email application or web browser. |
| Addresses | Enter the billing and shipping addresses for the customer. You can enter a two-line address, city, state/province, country and zip/postal code. The city, state/province, and country fields give you access to pre-defined lists that you can set up in the city, state/province and country setup panels. Click + to add a new item on the fly. Click the spiral arrow to use the billing information for shipping. |
To add account and profile information
| Status | Set the status of a customer’s account, such as new prospect, active or credit hold. To create statuses go to Tools > Setup > Customers > Account Status. |
| Category | Select a category for customers who receive a discount or pricing level. For example, a company with customers in the education market can create an Education category that receives an automatic discount or is assigned an education pricing level. To set up pricing levels go to Tools > Setup > Products > Pricing Levels. To set discounts and pricing levels for categories go to Tools > Setup > Customers > Customer Categories. |
| Salesperson | You can assign a salesperson to a customer. When someone invoices a customer who is assigned to another salesperson, a message appears asking whether the invoice should be split between the two salespersons. |
| Referred by | You can choose from a list of referral sources. To add referrals go to Tools > Setup > Customers > Referred By. |
| Birthday | You can record the customers; birthdays. You can then run a Customer report to see whose birthdays are coming up and offer them promotions and discounts. |
To set a customer's language and currency preference
OnSite can print quotes, orders, SROs, invoices and POs in English, French and Spanish. If a customer has a language preference for their sales documents, click Prefs and select the language here. To edit any the language translations on the sales documents go to Tools > Setup > Advanced > Field Translations.
Select the currency the customer uses. When you add an item to a sales document, this currency will be displayed.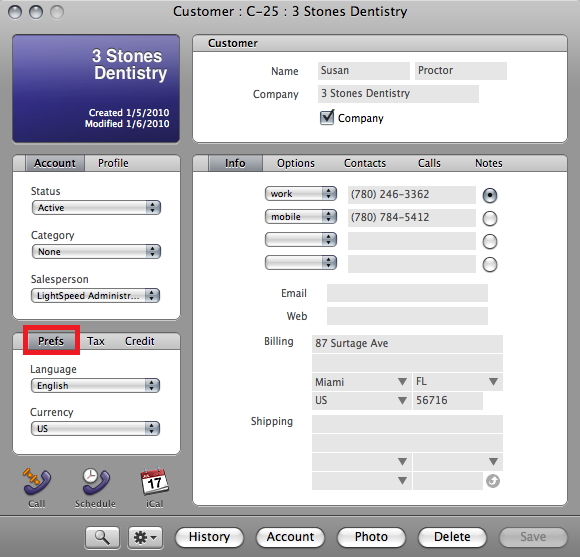
To set a customer's tax preferences
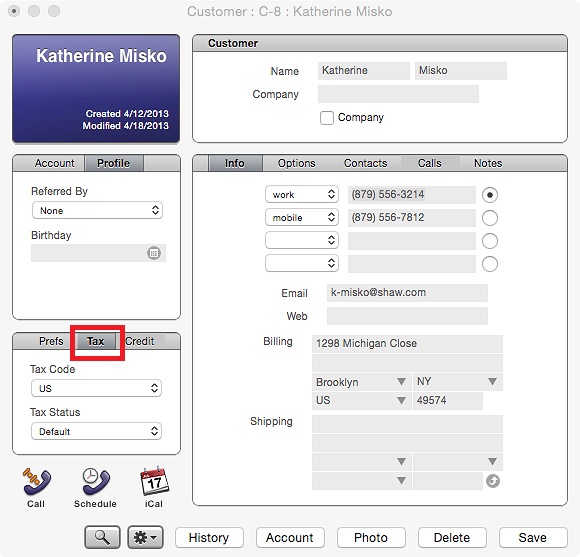
Click Tax and set the tax code to be for this customer. Tax codes are the taxes and rates charged in a jurisdiction or circumstance. For example, a customer whose purchases are always shipped to another state can have their tax code set to the one that will be applied.
If a customer is entitled to tax exemptions, choose the corresponding Tax Status. For example, customers who are registered businesses do not pay a certain state tax. You can set up a tax status for this exemption for these customers.
To set up tax codes and statuses go to Tools > Setup > Basics > Taxes.
To set a credit limit for a customer
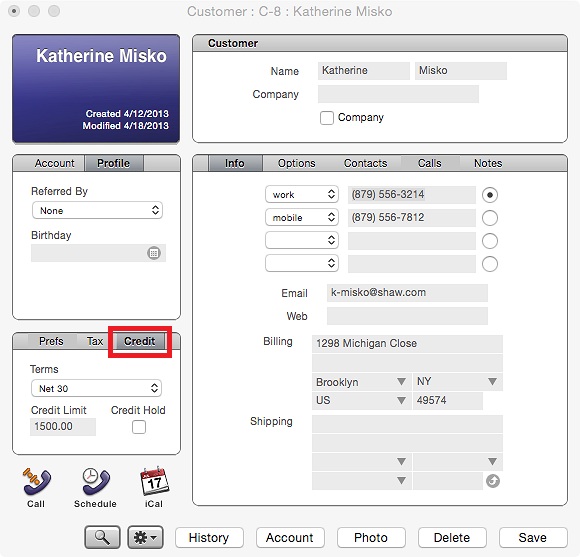
Click Credit and enter the customer’s credit limit. If they surpass their limit they will receive a warning. If you have the user privilege to allow a customer to exceed their credit limit, you will be able to allow the customer to exceed their limit.
To put the customer on credit hold select the Credit Hold checkbox. If this customer is assigned to a sales document, a message appears that the customer is on credit hold. If you have the Add Customer with Credit on Hold on Invoices user privilege you can allow customers on credit hold to be added to an invoice.
To add customer contacts
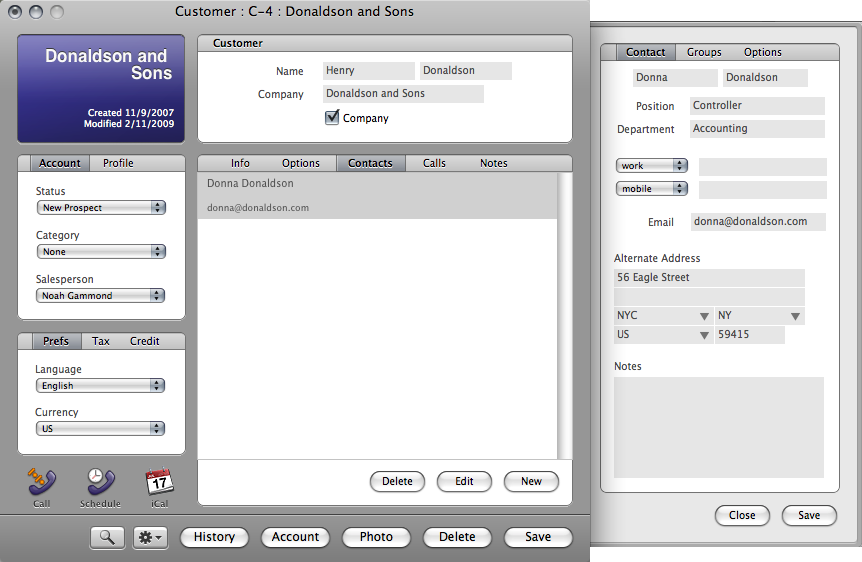
If you want to add contacts for the customer, click Contacts. By adding contacts you can track information about several people at a company and store multiple addresses associated with the contacts. When you add a customer with multiple contacts to a sales document you can select a contact. If the contact has an associated address, you have the option of using the alternate address as the billing or shipping address on the sales document.
To add a customer photo
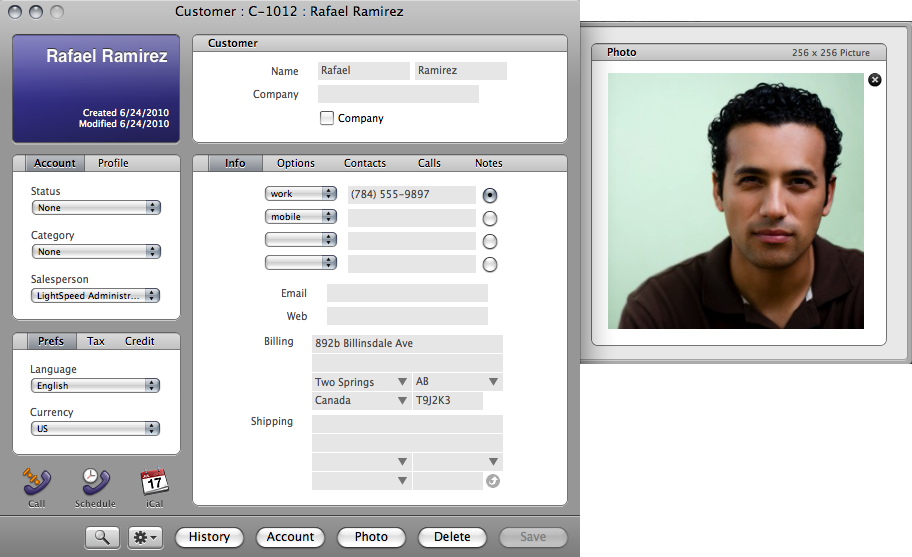
To add a photo for the customer, at the bottom of the customer window click Photo and add a 256 x 256 pixel JPEG photos of your customer. You can drag a photo from your desktop or a web page. To remove the photo, click the X button. If you have an iSight camera, you can click the image area to activate it, and press the space bar to capture an image you can then save to the customer card.
To add notes for a customer
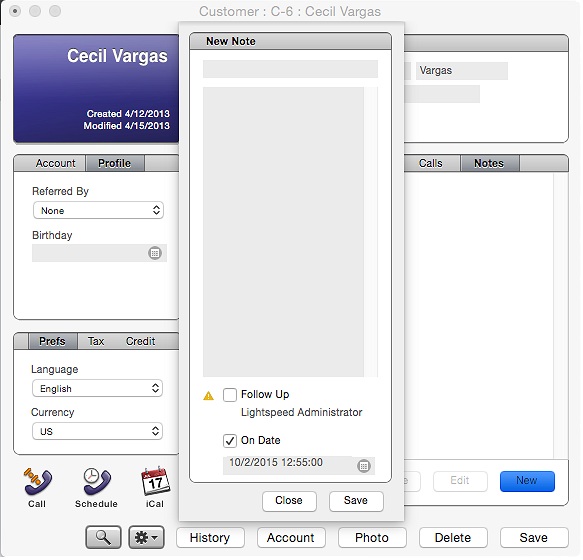
If you want to add a note about a customer click Notes. You can add extra information for a customer, to personalize their shopping experience, for example by adding their dog's name, or adding their clothing measurements.
To add customer calls
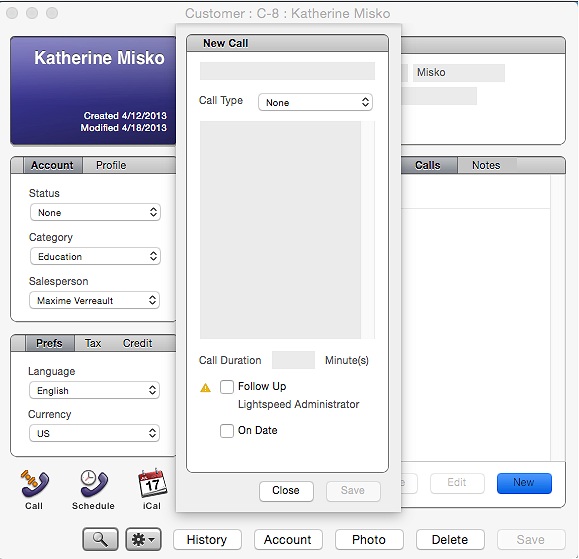
If you want to log the calls you have with the customer click Calls. You can add the date, duration and if any followup is needed. Calls marked for follow up appear in trackers if a tracker is set up to show calls for follow up. Selecting a date provides a further filter that can be searched in Trackers in the Store Master.
