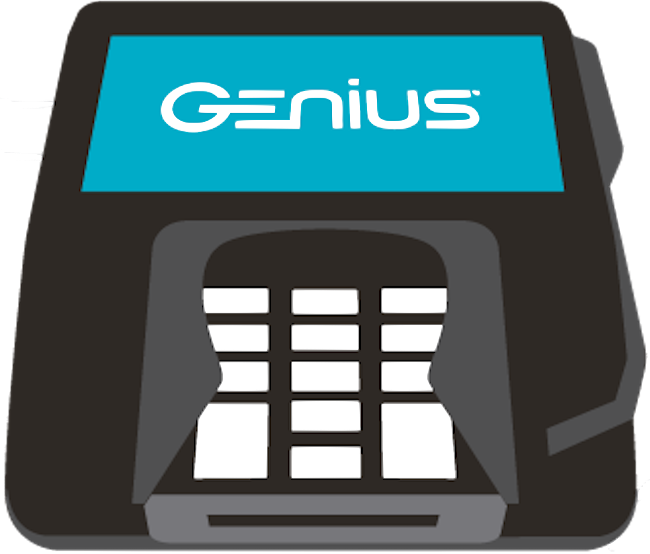
The Genius is an external payment terminal designed and offered exclusively by Cayan. Follow these steps to configure the terminal for use with OnSite.

1. Set up a payment method for Genius
Before you can process payments with Genius, you must create a payment method for it to use.
- In OnSite StoreMaster on the Tools menu click Setup > Basics > Payment Methods and click New.
- Title the new method Genius and set its Payment Type to Credit Card.
- Save the new Genius Payment Method.
2. Enter your Cayan account credentials
- In OnSite StoreMaster on the Tools menu click Setup > Basics > Payment Processing and select Cayan.
- Enter the Site ID, Key and Name provided to you by Cayan.
- Select Map Payment Methods.
- By default the Genius payment method you created is mapped to payments processed by the terminal. For the terminal to pass information about which payment method the customer selected, you must map the Cayan methods with the corresponding Payment Methods in OnSite.
- Save the mappings.
3. Find the Genius IP address
For OnSite to transmit data to the Genius terminal, you need to know the local IP address for the device. Record the IP for configuring the terminal.
- From the Genius idle screen press 000 (zero-zero-zero) on the keypad.
- Using keypad enter the Genius CED password 9416557.
- Press the green Enter button on the keypad.
- IP Address is the first display setting. Record this for using in the next configuration step.
- Press the red Cancel button on the keypad to return to the idle screen.
4. Configure OnSite
Configure OnSite with the IP address so that it can find the terminal on your network.
- In OnSite StoreMaster on the Tools menu click Setup > Basics > Payment Terminals. Important: Do not click Configure Terminal on this screen, as it will cause a hardware reset.
- Click + at the bottom left and from Type select Cayan Genius.
- Enter a name for the terminal.
- Enter the Genius IP address you recorded.
- Save the Payment Terminals screen.
5. Set up the station
Check that the station is set to use your Genius for your card-based sales.
- In OnSite StoreMaster on the File menu click Station Setup.
- In the Card Swipe field enter External Terminal.
- At the bottom left of the window select Terminals > Genius.
- Save the Terminals window.
6. Set up the payment receipt printer
Select a payment receipt printer for the Genius terminal.
- Add the payment receipt printer to the computer you're running your Lightspeed server on in one of these ways:
- Physically connect the receipt printer to the server computer.
- Add the receipt printer as a networked printer.
- Share the USB printer from a client computer and add it to the list of printers from the System Preferences on the Lightspeed server.